
Let’s be honest: “compression” is one of those effects bassists hear about long before they understand it. Maybe it’s the compressor pedal that always seems to be “on” in a rig rundown, or maybe it's the mysterious “glue” that producers talk about in mixing.
But for many players, compressors remain the most misunderstood tool in the signal chain. That ends today.
Whether you slap, fingerstyle, pick, or tap—a good compressor can elevate your playing in a big way. Let's break it all down in a way that actually makes sense.
What Is a Compressor?
At its core, a compressor reduces the dynamic range of your playing—that is, it makes the loud notes quieter and the quiet notes louder.
Think of it like an automatic hand on your volume knob: When you dig in too hard, it smooths things out. When you’re too soft, it brings your signal up so you don’t disappear in the mix.
This is why engineers love compression in recordings. It evens out your bassline without sacrificing character or punch.
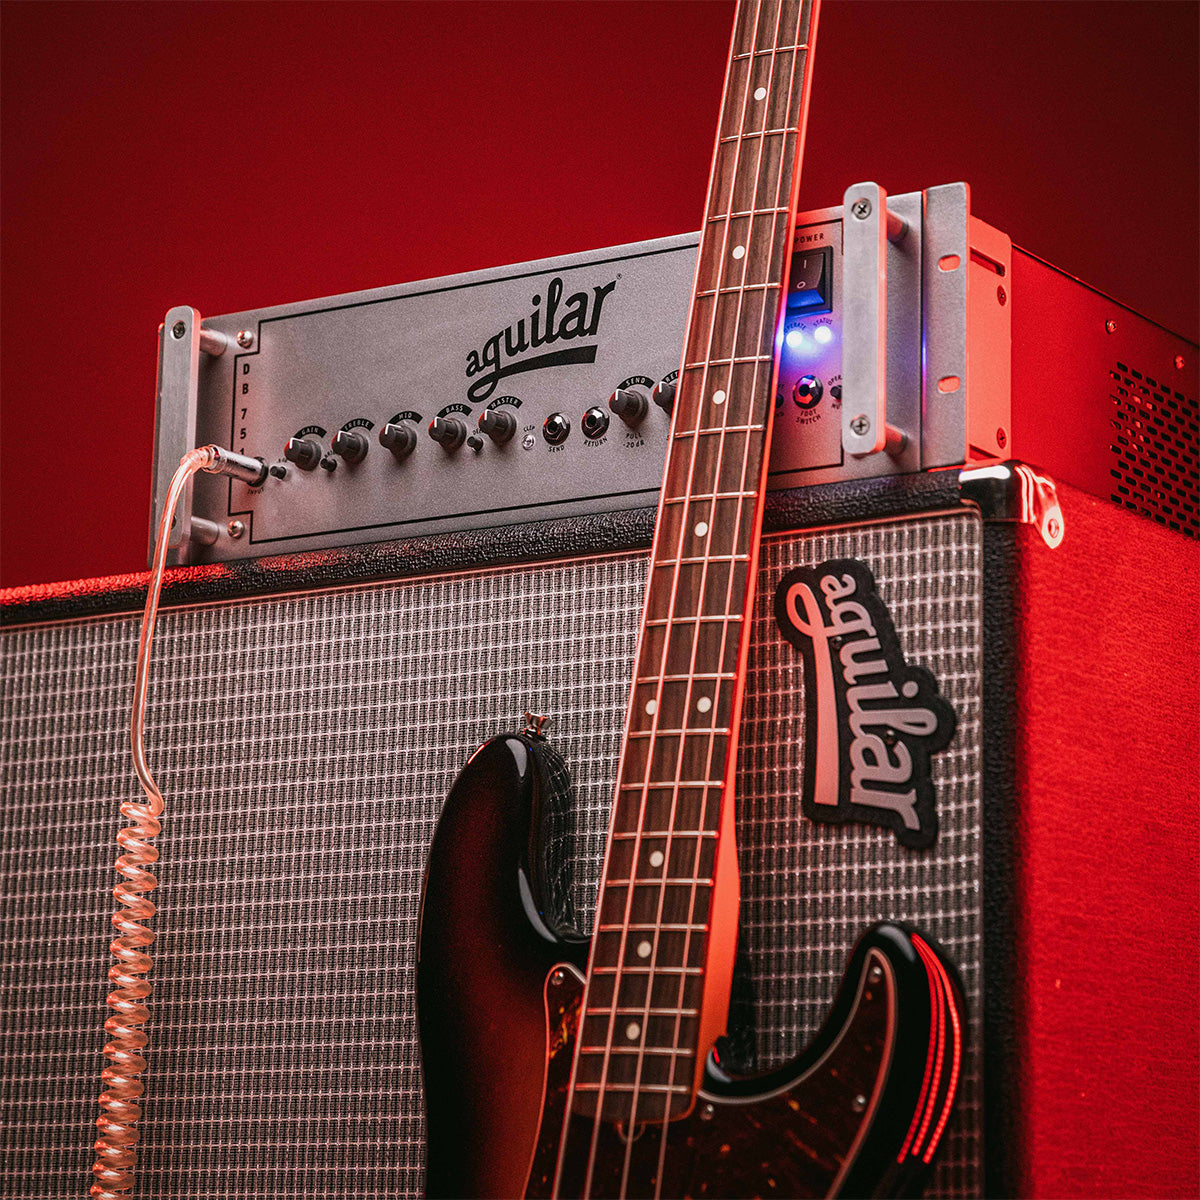
The Main Controls—And What They Actually Do
Let’s demystify the typical compressor controls one by one:
1. Threshold
“How loud do I have to play before compression kicks in?”
This sets the level where the compressor starts working.
- Play lightly = no compression.
- Play louder than the threshold = compression starts.
TIP: Start with it high, then lower it gradually until you see or hear it start to engage during your harder notes.
2. Ratio
“How much does the compressor reduce the signal when it goes over the threshold?”
If your ratio is:
- 2:1 — for every 2dB over the threshold, only 1dB gets out.
- 4:1 — more aggressive.
- ∞:1 (limiter) — nothing gets past the threshold.
TIP: For bass, 3:1 to 5:1 is often the sweet spot for natural compression.
3. Attack
“How fast does the compressor start working after the signal exceeds the threshold?”
- Fast attack (0.1–5ms): clamps down quickly—great for slappers or very percussive playing.
- Slow attack (10–30ms): lets more punch through before compressing—great for preserving pick attack or finger dynamics.
TIP: Try slower attack times if your tone feels “choked” or loses its impact.
4. Release
“How long does the compressor take to stop working after your note drops below the threshold?”
- Fast release: good for fast playing, staccato lines.
- Slow release: smoother feel, more transparent.
TIP: If your compressor is “pumping” or sounding weird, the release might be too fast or too slow. Adjust until it breathes naturally with your playing.
5. Output / Makeup Gain
“Now that you've squashed my signal… can I get my volume back?”
Compression often reduces your volume. This control lets you turn it back up so you're not buried in the mix.
TIP: Match your volume with and without the compressor engaged to A/B it accurately.
6. Blend / Mix (on parallel compressors)
“Can I keep some of my clean tone?”
This allows you to blend your dry (uncompressed) and wet (compressed) signals. It’s a game changer for preserving your playing dynamics while still enjoying the benefits of compression.
TIP: Set a strong compression setting, then blend in the dry signal until it feels alive again.
Why Bassists Love Compressors
Here’s what compression can do for your playing:
Tames transients — smooths out wild spikes in volume (especially for slappers or aggressive fingerstyle)
Sustains notes — makes held notes ring out longer
Glues your tone — keeps your sound consistent across the fretboard
Sits better in a mix — whether live or recorded, your tone cuts without spiking or disappearing
Boosts confidence — makes your playing feel more “in control” and pro-level
How to Set a Compressor for Bass
Here’s a quick step-by-step setup:
- Set all controls to neutral (threshold high, ratio low, attack/release mid).
- Play your hardest note, then lower the threshold until compression starts.
- Set the ratio to about 4:1 to begin with.
- Adjust attack: If your tone feels dull, slow it down.
- Adjust release: Listen for “pumping” or abrupt cuts—smooth it out.
- Use makeup gain to bring your level back up.
- Optional: Blend some dry signal in to retain punch.
Final Thoughts
Compression doesn’t have to be mysterious. It’s not just for studio nerds—it’s for you. Whether you're playing live, recording at home, or just trying to tame your tone, a well-set compressor is your secret weapon.
Once you hear what a compressor can do for your note clarity, sustain, and punch—you’ll wonder how you ever played without one.
1 comment
Nice post! Thanks for sharing!